There’s something magical about the combination of creamy cheesecake and the delightful sweetness of bananas. The moment you sink your teeth into a Banana Pudding Cheesecake Cone, you are greeted with layers of flavor that dance on your palate. Imagine the smooth, rich cheesecake filling meeting the soft, luscious banana slices, all tucked away in a crispy cone that adds the perfect crunch. It’s like a party in your mouth where everyone is invited!
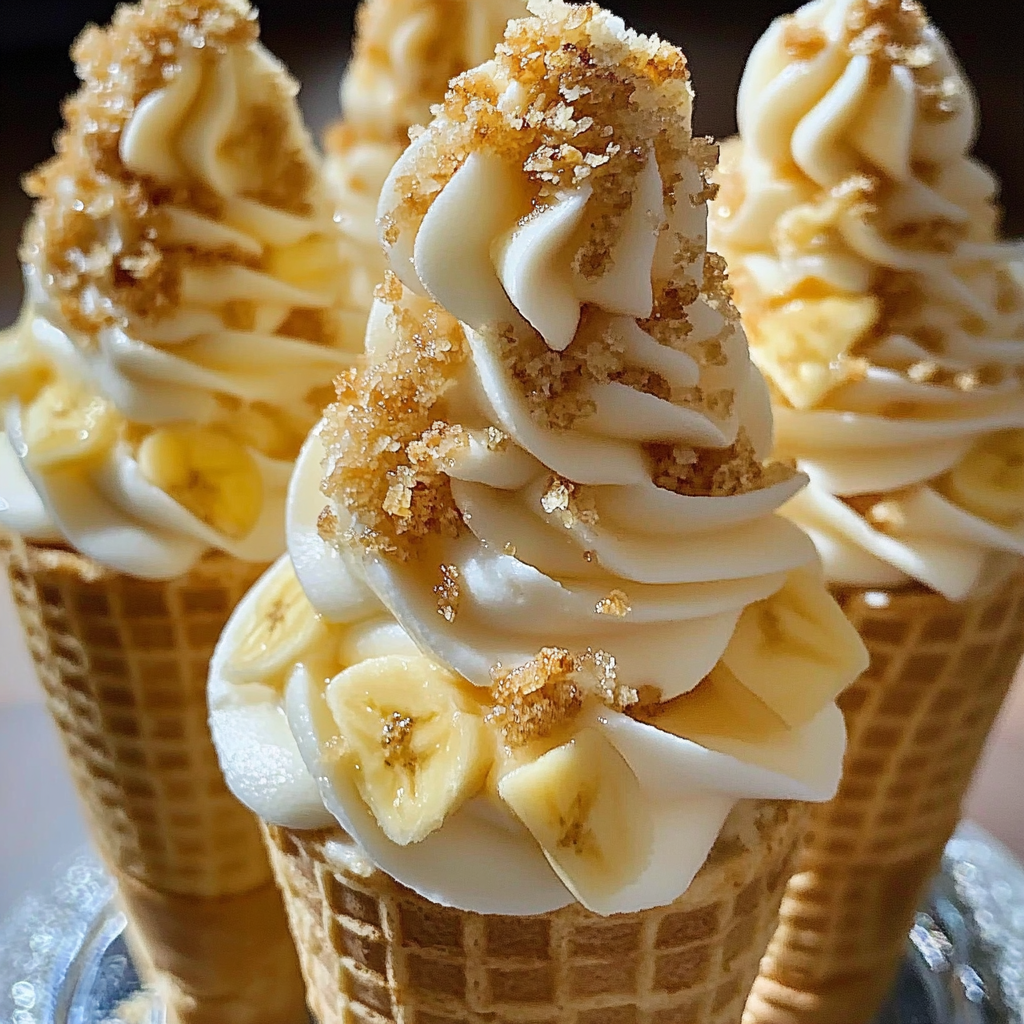
Now, picture this: it’s a sunny afternoon, and you’ve gathered with friends for a backyard barbecue. As you present these cones, their eyes light up with curiosity and delight. The aroma wafts through the air, mingling with laughter and stories shared under the warm sun. Everyone is eager to dive in! Trust me; this dessert will steal the show and create memories that will last long after the last crumb has vanished.
Why You'll Love This Recipe
- Making Banana Pudding Cheesecake Cones is a breeze, allowing you to whip them up in no time
- They’re bursting with flavors that blend beautifully together, making each bite a delightful experience
- The visual appeal will wow your guests with their charming presentation
- Perfect for parties or just satisfying your sweet tooth anytime!
Sharing these cones at my family reunion was unforgettable; everyone went crazy for them and begged for the recipe.
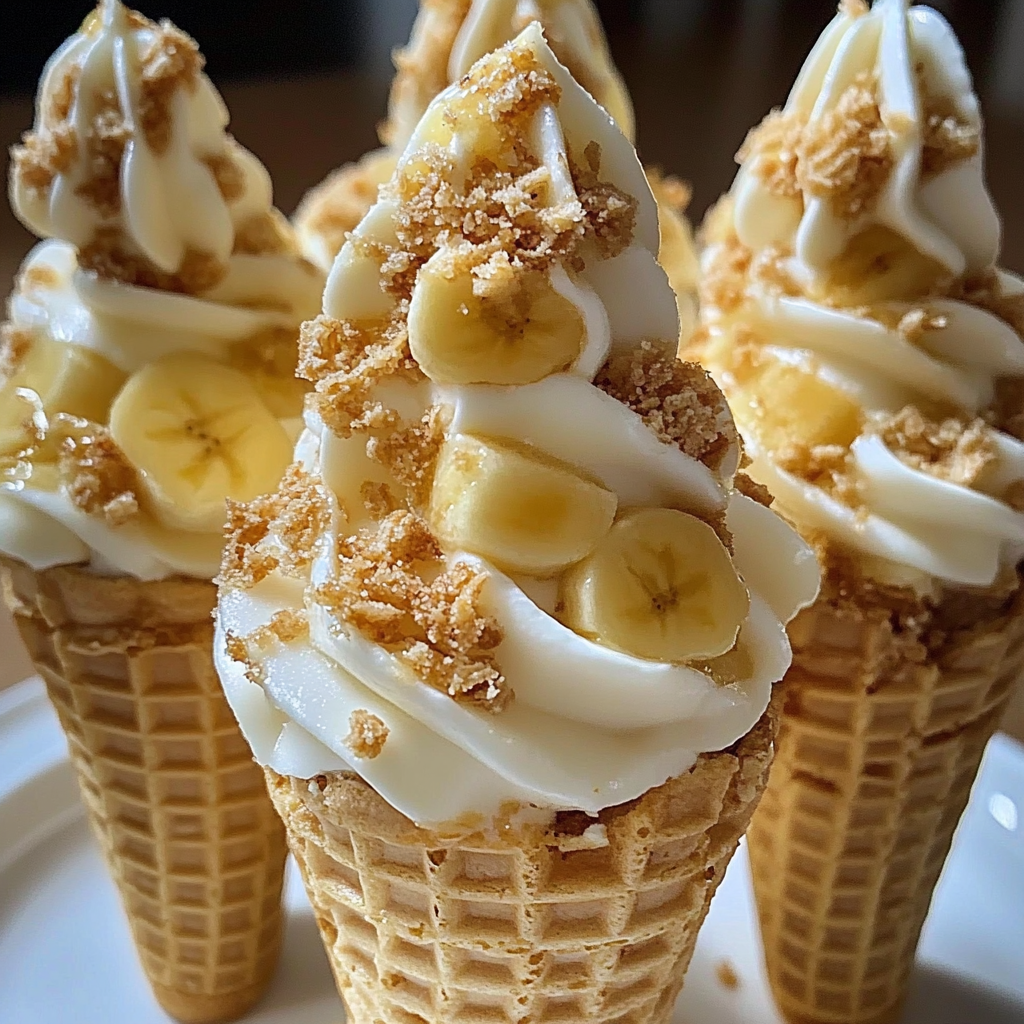
Essential Ingredients
Here’s what you’ll need to make this delicious dish:
-
Graham Cracker Crumbs: These form the base of your cheesecake mixture and give it a delightful crunch.
-
Cream Cheese: Use softened cream cheese for easy mixing; it provides that rich, creamy texture we all love.
-
Sugar: Granulated sugar balances out the tanginess of cream cheese for a perfectly sweet flavor.
-
Vanilla Extract: Opt for pure vanilla extract to elevate your cheesecake’s flavor profile with its aromatic notes.
-
Bananas: Ripe bananas add natural sweetness and creaminess; choose ones that are speckled but not overly brown.
-
Whipped Topping: Lightens the cheesecake filling; use store-bought or homemade whipped cream to keep things simple.
-
Ice Cream Cones: Choose your favorite cones; they provide an irresistible crunch and fun presentation!
The full ingredients list, including measurements, is provided in the recipe card directly below.
Let’s Make it together
Get ready to embark on this fun culinary journey to create mouthwatering Banana Pudding Cheesecake Cones!
Create the Cheesecake Mixture: In a mixing bowl, combine softened cream cheese, sugar, and vanilla extract. Beat until smooth and creamy without lumps—about 2-3 minutes will do.
Add Whipped Topping: Gently fold in whipped topping until fully incorporated. Take care not to deflate it too much; we want it light and fluffy!
Prepare Bananas: Slice ripe bananas into thin rounds. Arrange them on a plate so they’re easy to grab when assembling your cones.
Assemble Your Cones: Spoon generous amounts of cheesecake filling into each ice cream cone until they are filled almost to the top—don’t be shy here!
Add Banana Layers: Top each filled cone with banana slices and drizzle any extra filling on top for an extra treat.
Chill Before Serving: Place assembled cones upright in a cup or similar container and chill them in the fridge for about 30 minutes before serving to let everything set nicely.
Enjoying these Banana Pudding Cheesecake Cones is bound to bring smiles all around!
You Must Know
- The Banana Pudding Cheesecake Cones are a playful twist on classic desserts, combining creamy cheesecake and nostalgic banana pudding
- They’re perfect for parties, picnics, or simply indulging yourself on a lazy Sunday
- The crunchy cone pairs delightfully with the smooth filling
Perfecting the Cooking Process
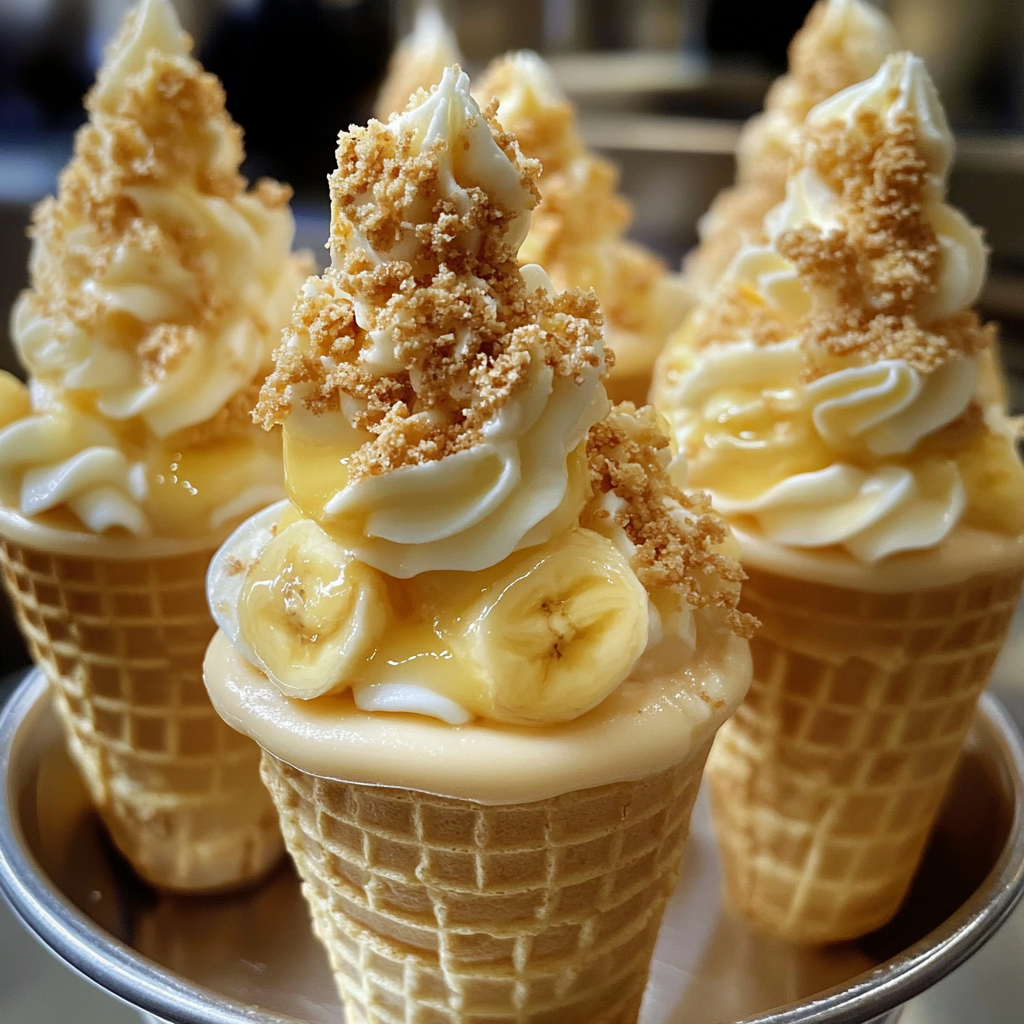
Start by blending your cream cheese and sugar until smooth; then fold in whipped cream. Layer this mixture into cones with banana slices and pudding for a quick assembly.
Add Your Touch
Feel free to swap bananas for strawberries or add crushed cookies for added crunch. Drizzle caramel or chocolate sauce to elevate the flavor profile of your cones.
Storing & Reheating
Store filled cones in an airtight container in the fridge for up to two days. Avoid freezing them, as the cones will become soggy upon thawing.
Chef's Helpful Tips
- Use freshly ripened bananas for the best flavor; overripe ones can turn mushy too quickly
- Ensure your cream cheese is at room temperature to avoid lumps in your mixture
- Don’t overfill the cones, as they can topple over easily once filled
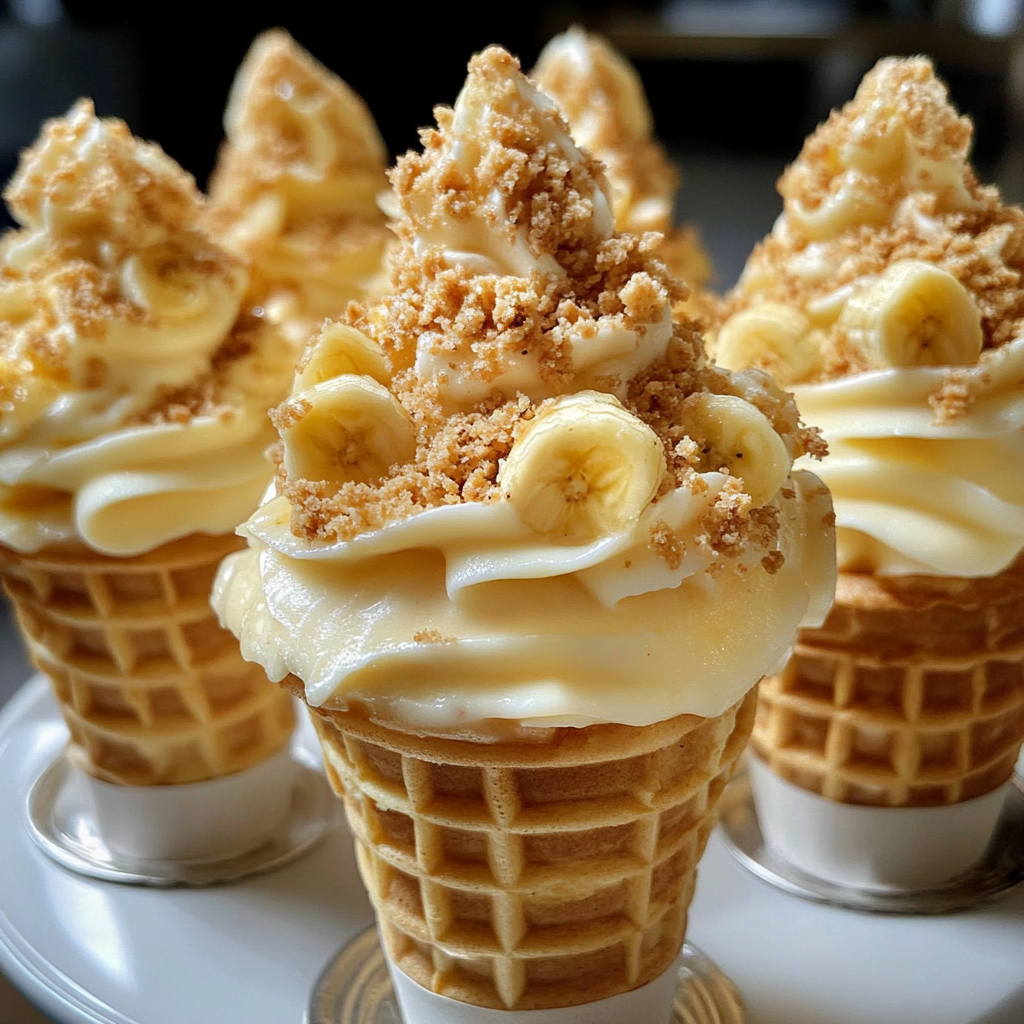
The first time I made these Banana Pudding Cheesecake Cones, my kids declared me a dessert superhero! Watching their eyes light up was a joy that made all the effort worthwhile.
FAQ
Can I use store-bought pudding for Banana Pudding Cheesecake Cones?
Yes, store-bought pudding saves time and still tastes delicious.
How do I prevent the cones from getting soggy?
Fill the cones just before serving to keep them crunchy and fresh.
What other flavors can I use for these cones?
Try chocolate mousse or vanilla custard for unique variations of these cones.
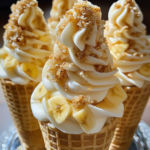
Banana Pudding Cheesecake Cones
- Total Time: 0 hours
- Yield: Makes 6 servings 1x
Description
Indulge in the sweet symphony of creamy cheesecake and ripe bananas, all nestled in a crunchy ice cream cone. These Banana Pudding Cheesecake Cones are not only visually stunning but also incredibly easy to make. Perfect for summer barbecues or a quick treat at home, each bite offers a delightful combination of flavors that will leave everyone asking for more.
Ingredients
- 1 cup graham cracker crumbs
- 8 oz cream cheese, softened
- 1/2 cup granulated sugar
- 1 tsp pure vanilla extract
- 2 ripe bananas, sliced
- 1 cup whipped topping (store-bought or homemade)
- 6 ice cream cones
Instructions
- In a mixing bowl, combine softened cream cheese, sugar, and vanilla extract; beat until smooth (2-3 minutes).
- Gently fold in the whipped topping until fully incorporated.
- Slice bananas into thin rounds.
- Spoon cheesecake mixture into each cone until nearly full.
- Top with banana slices and drizzle remaining cheesecake filling on top.
- Chill assembled cones upright in the refrigerator for about 30 minutes before serving.
- Prep Time: 15 minutes
- Cook Time: None
- Category: Dessert
- Method: No cooking required
- Cuisine: American
Nutrition
- Serving Size: 1 cone (110g)
- Calories: 230
- Sugar: 16g
- Sodium: 180mg
- Fat: 10g
- Saturated Fat: 5g
- Unsaturated Fat: 3g
- Trans Fat: 0g
- Carbohydrates: 32g
- Fiber: 1g
- Protein: 3g
- Cholesterol: 30mg


