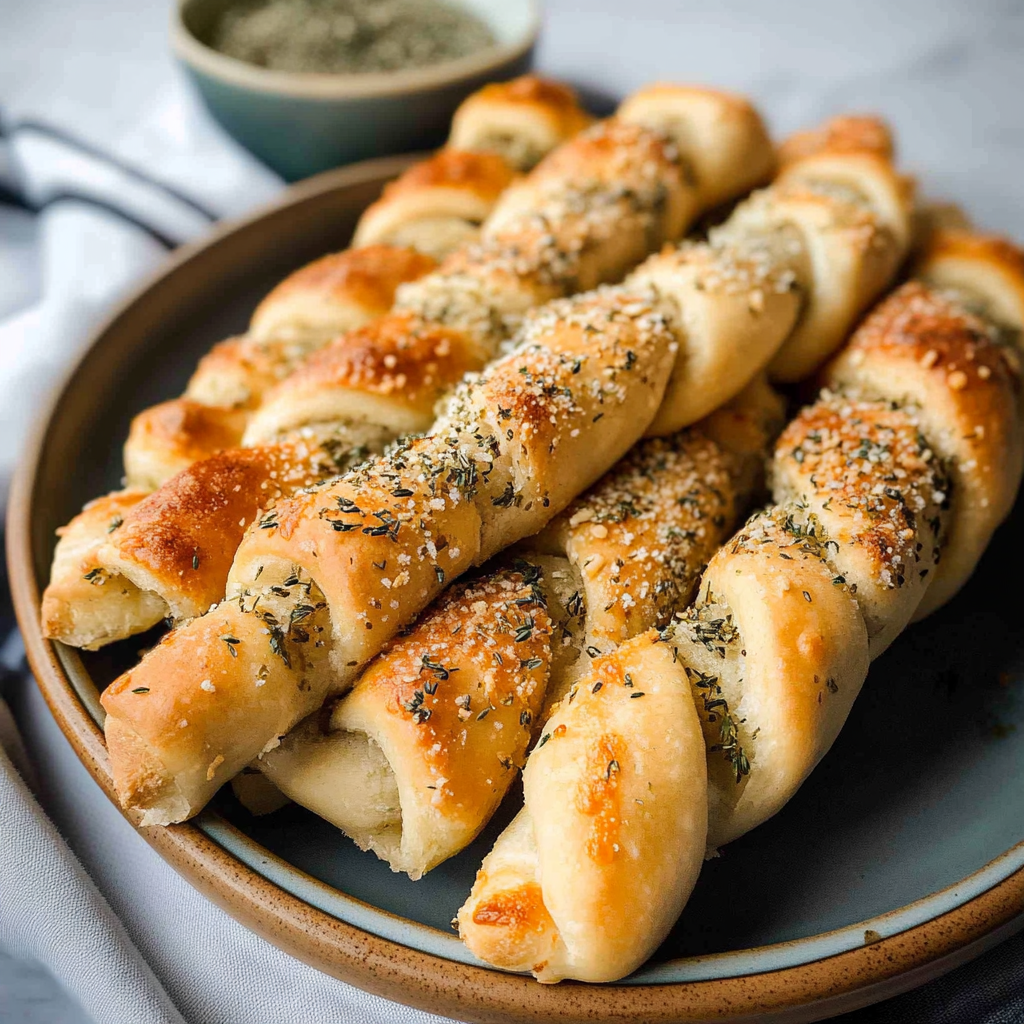
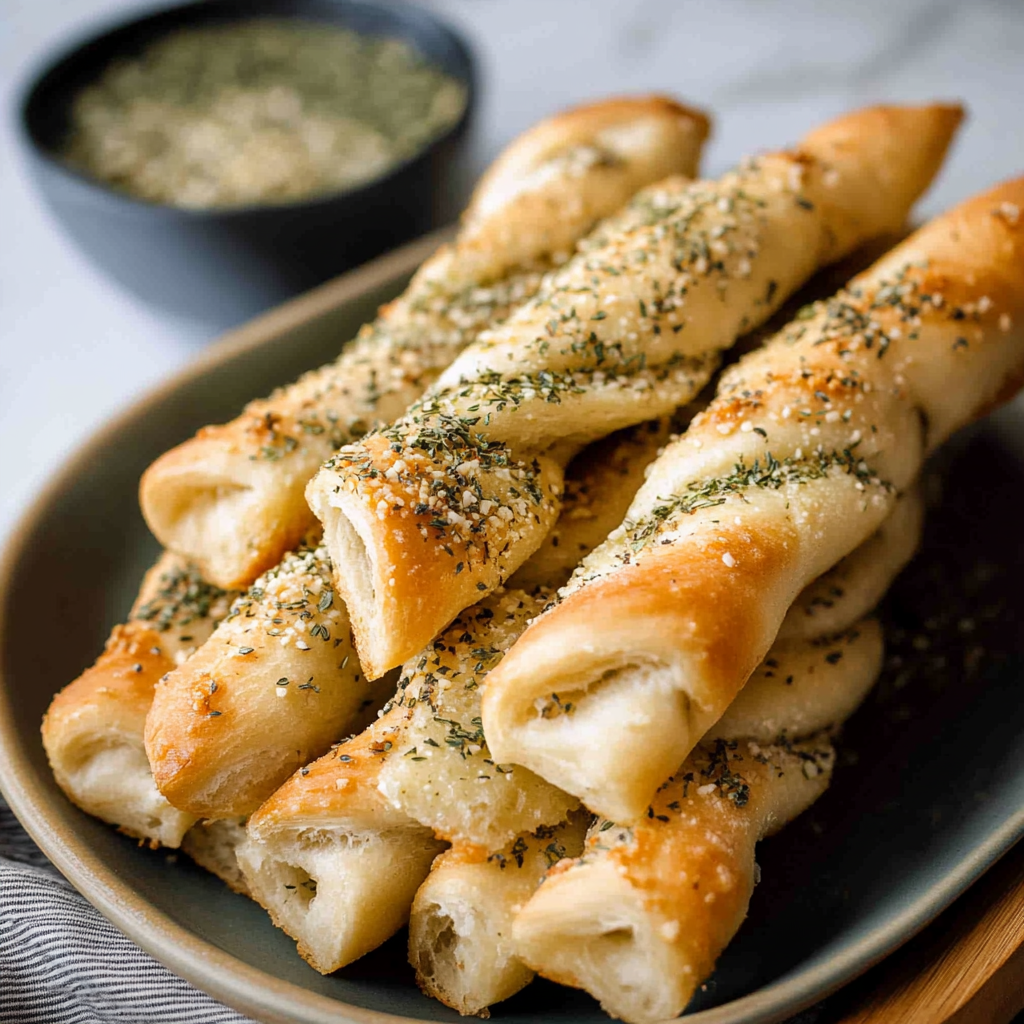
The aroma of freshly baked homemade breadsticks wafts through the kitchen, inviting you to indulge in their warm, buttery goodness. Imagine pulling them out of the oven, golden brown, with a delightful crunch that gives way to a soft, pillowy interior. These little wonders are not just a sidekick for your pasta; they can steal the show at any meal.

Picture this: You’re hosting a cozy dinner party, and just as your friends arrive, you unveil a platter of these homemade breadsticks. Everyone’s eyes light up as they grab one, and suddenly, you’re the culinary superstar. Trust me; these breadsticks are so good that they’ll make even your Aunt Mildred forget her famous lasagna recipe.
Why You'll Love This Recipe
- These homemade breadsticks are incredibly easy to prepare and require minimal ingredients
- Their warm, buttery flavor complements any dish perfectly
- They also look stunning on any dinner table with their golden crust
- Plus, they are versatile enough to serve as an appetizer or snack at any gathering
Ingredients for homemade breadsticks
Here’s what you’ll need to make this delicious dish:
- All-Purpose Flour: This is the backbone of your breadsticks. It gives them that lovely chewy texture.
- Active Dry Yeast: Make sure it’s fresh! This little powerhouse helps your dough rise beautifully.
- Warm Water: Use water that feels warm but not hot—around 110°F (43°C) is perfect for activating yeast.
- Salt: Just a pinch enhances all the flavors and makes everything taste better.
- Sugar: A touch of sweetness balances the saltiness and helps with browning.
- Butter: Melted butter adds richness and flavor; feel free to be generous!
The full ingredients list, including measurements, is provided in the recipe card directly below.

How to Make homemade breadsticks
Follow these simple steps to prepare this delicious dish:
Step 1: Activate the Yeast
In a large bowl, combine warm water and sugar. Sprinkle yeast on top and let it sit for about 5-10 minutes until frothy. If it doesn’t foam up like a bubbly volcano, your yeast might be expired—better luck next time!
Step 2: Mix the Dough
Add flour and salt to the yeast mixture. Stir until combined. If you have a sturdy wooden spoon or a stand mixer with a dough hook, now’s the time to use them! Knead until smooth and elastic.
Step 3: Let it Rise
Transfer your dough into an oiled bowl, cover with plastic wrap or a clean towel, and let it rise in a warm place for about an hour or until doubled in size. This is where the magic happens!
Step 4: Shape Your Breadsticks
Once risen, punch down the dough (yes, give it a good smack!) and turn it onto a lightly floured surface. Divide into equal pieces (about 12-15), then roll each piece into long sticks about six inches long.
Step 5: Preheat & Prepare
Preheat your oven to 375°F (190°C). Place your shaped breadsticks on a baking sheet lined with parchment paper. Brush them generously with melted butter because life is too short to skip on butter!
Step 6: Bake & Enjoy
Bake for about 15-20 minutes or until golden brown. Remove from oven and brush with more butter while they’re still hot! Serve immediately with marinara sauce or garlic dip for an unforgettable experience.
Transfer to plates and drizzle with sauce for the perfect finishing touch. Enjoy!
You Must Know
- Homemade breadsticks are not just a side dish; they’re an experience
- Soft, chewy, and waiting to be dipped in marinara or slathered in garlic butter, they elevate any meal
- Plus, the aroma wafting through your kitchen will have everyone asking for seconds!
Perfecting the Cooking Process
To achieve perfectly fluffy homemade breadsticks, start by mixing your dough and letting it rise. While it’s rising, preheat your oven. Once risen, shape the dough and let it rest again before baking for that perfect golden finish.
Add Your Touch
Feel free to customize your homemade breadsticks. Add herbs like rosemary or thyme into the dough for an aromatic twist. You can also sprinkle cheese on top before baking or dip them in a variety of sauces for added flavor.
Storing & Reheating
Store leftover homemade breadsticks in an airtight container at room temperature for up to two days. To reheat, wrap them in foil and warm them in the oven at 350°F until heated through to keep them soft.
Chef's Helpful Tips
- For perfect homemade breadsticks, use warm water to help activate the yeast efficiently
- Don’t rush the rising time; patience is key for fluffy texture
- Lastly, brush with melted butter immediately after baking for maximum flavor
It’s funny how a simple recipe can turn into a family favorite. I remember making these homemade breadsticks for a casual dinner party, and by the end of the night, my friends were practically fighting over the last one!
FAQs
What are the best tips for making homemade breadsticks?
To achieve the best homemade breadsticks, start with high-quality ingredients like bread flour and fresh yeast. Mixing the dough until it is smooth and elastic is crucial. Allowing the dough to rise properly will enhance its texture. Preheat your oven thoroughly to ensure even baking, and brush the breadsticks with olive oil or butter for extra flavor. Experiment with seasonings such as garlic powder or herbs to elevate your breadsticks further.
Can I freeze homemade breadsticks?
Yes, you can freeze homemade breadsticks! After baking, let them cool completely before placing them in an airtight container or freezer bag. Ensure to remove as much air as possible to avoid freezer burn. When you’re ready to enjoy them, simply reheat in the oven at 350°F until warmed through. This method preserves their freshly baked taste and texture.
How long do homemade breadsticks last?
Homemade breadsticks typically last for about three days when stored in an airtight container at room temperature. If you want them to stay fresh longer, consider freezing them after baking. Frozen homemade breadsticks can maintain their quality for up to three months. Just remember to reheat them properly for the best taste and texture upon serving.
Can I customize my homemade breadsticks?
Absolutely! Homemade breadsticks are incredibly versatile. You can add various seasonings and toppings according to your preference. For a cheesy twist, sprinkle grated parmesan or mozzarella on top before baking. Incorporating herbs like rosemary or oregano enhances their flavor profile significantly. Feel free to experiment with sweet variations, too, by adding cinnamon sugar for dessert-style breadsticks.
Conclusion for homemade breadsticks
In summary, making delicious homemade breadsticks is both fun and rewarding. By using quality ingredients and following proper techniques, you can create soft and flavorful sticks that complement any meal. Don’t hesitate to customize your recipe with spices or cheese based on personal preferences. Whether enjoyed fresh from the oven or reheated later, these homemade breadsticks are sure to please everyone at your table!

Homemade Breadsticks
- Total Time: 35 minutes
- Yield: Serves 12 breadsticks 1x
Description
Homemade breadsticks are a must-try for any meal! Soft, chewy, and brushed with melted butter, these golden delights are perfect for dipping in marinara or garlic butter. With minimal ingredients and a straightforward process, you can create these crowd-pleasing snacks that will elevate your dining experience. Whether served as an appetizer or alongside pasta, these breadsticks will make every meal special.
Ingredients
- 2 cups all-purpose flour
- 1 packet (2 1/4 tsp) active dry yeast
- 3/4 cup warm water (110°F)
- 1 tsp salt
- 1 tsp sugar
- 3 tbsp melted butter
Instructions
- 1. Activate the yeast: In a bowl, combine warm water and sugar. Sprinkle yeast on top and let sit for 5-10 minutes until frothy.
- 2. Mix the dough: Add flour and salt. Stir to combine, then knead until smooth and elastic.
- 3. Let it rise: Transfer to an oiled bowl, cover, and let rise in a warm place for about an hour until doubled in size.
- 4. Shape the breadsticks: Punch down the dough, divide into 12 pieces, and roll each into sticks about six inches long.
- 5. Preheat & prepare: Preheat oven to 375°F. Place shaped breadsticks on a parchment-lined baking sheet and brush with melted butter.
- 6. Bake & enjoy: Bake for 15-20 minutes until golden brown. Brush with more butter while hot and serve immediately.
- Prep Time: 15 minutes
- Cook Time: 20 minutes
- Category: Appetizer
- Method: Baking
- Cuisine: American
Nutrition
- Serving Size: 1 breadstick (30g)
- Calories: 100
- Sugar: 0g
- Sodium: 150mg
- Fat: 4g
- Saturated Fat: 2g
- Unsaturated Fat: 2g
- Trans Fat: 0g
- Carbohydrates: 14g
- Fiber: 0g
- Protein: 2g
- Cholesterol: 10mg


